
I am so excited to finally share the huge kitchen before and after project I’ve been working on for the past month! Now that it is all done and our house is on the market, I finally had some time to take pictures of the kitchen and share about my experience painting the kitchen cabinets. So first…some before pictures! Scroll to the bottom for the paint and supplies I used for the cabinets.
Kitchen Before and After
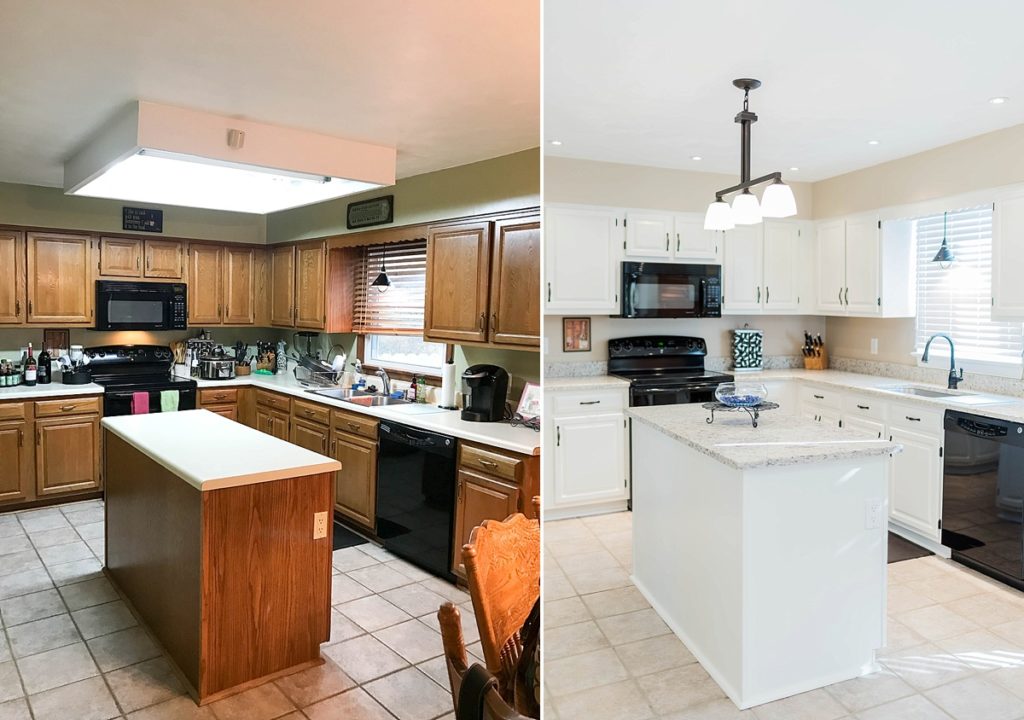
We finally took out the ugly box florescent light above the island…and yes that pantry door was green, along with the rest of the walls!


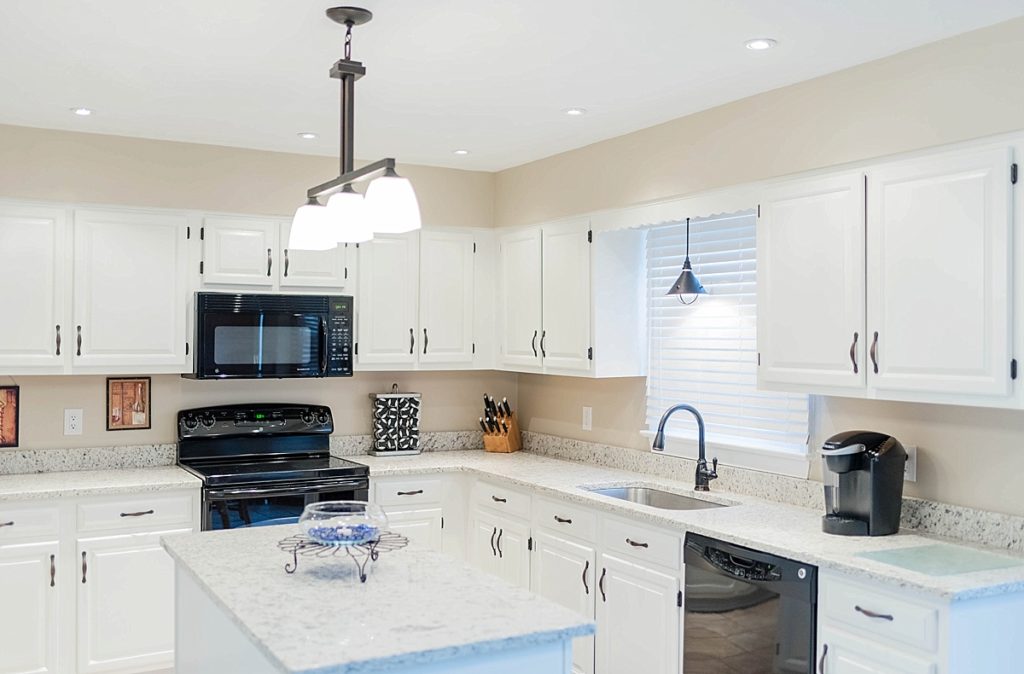
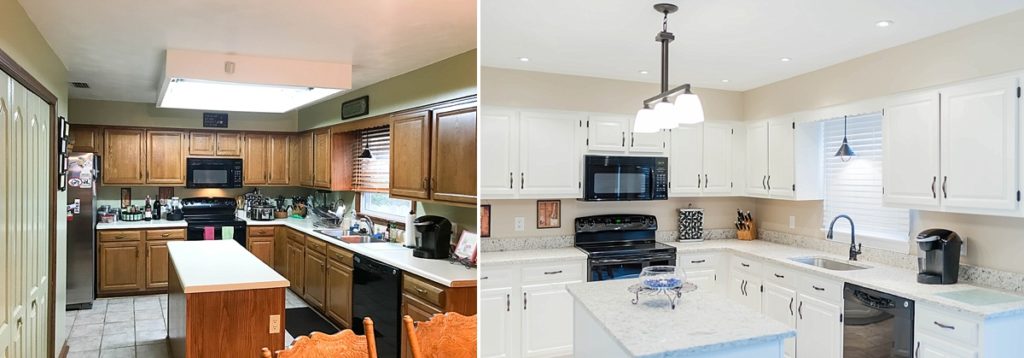
Once the box light was out, we installed recessed lighting. Just doing that made such a huge difference!

After the hole from the box light was fixed, we installed a pendant over the island and removed the countertops to get ready for the granite. I also got all of the bottom cabinet frames painted before the granite went in.


Then granite was installed!!! Woohoo! No more formica!!

After
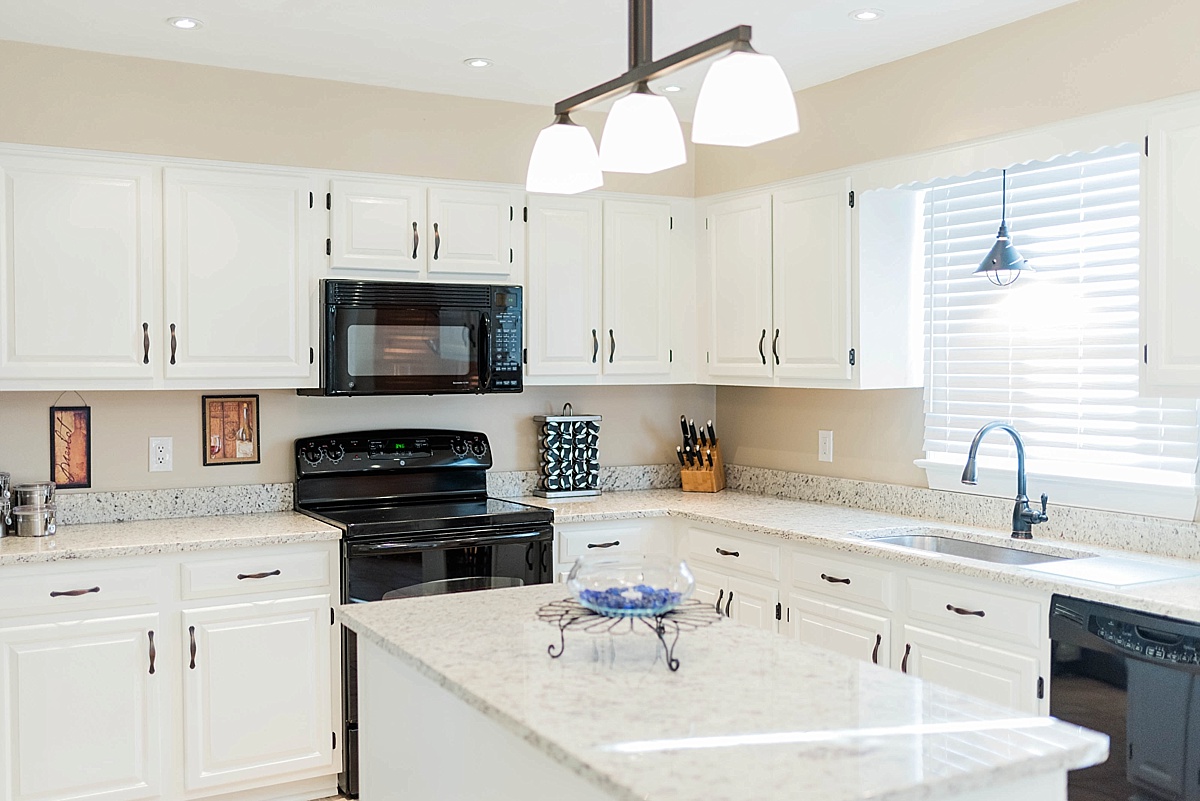
…and finally, the completed kitchen!!


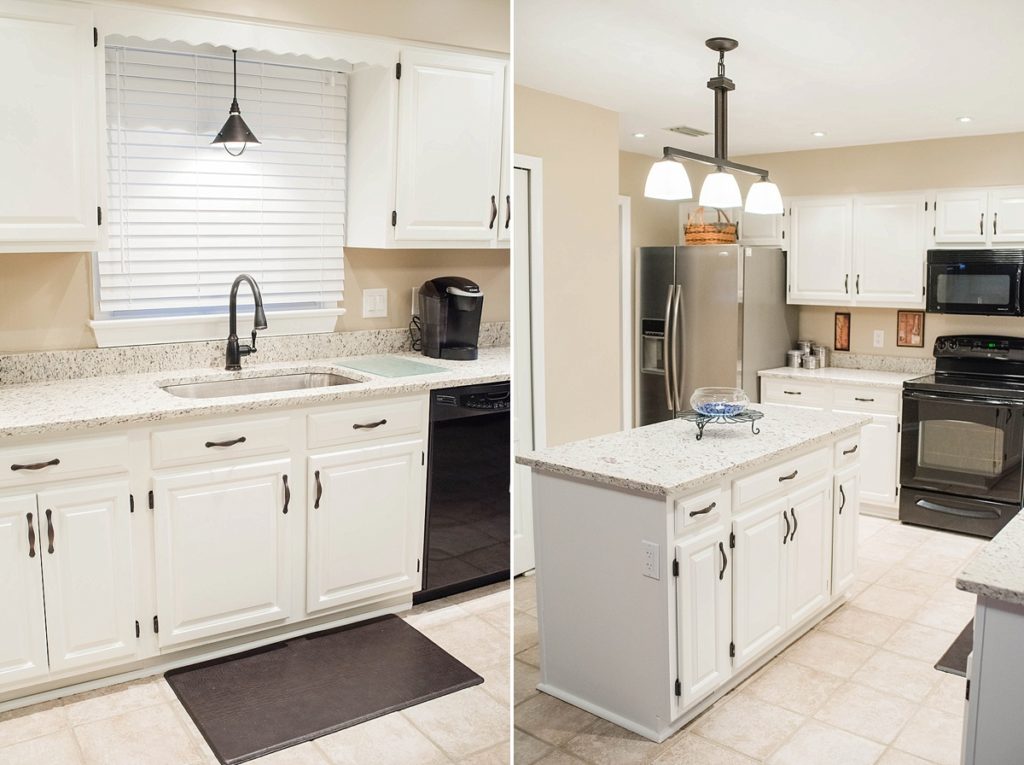
I opted for the huge farmhouse style sink and I love it!


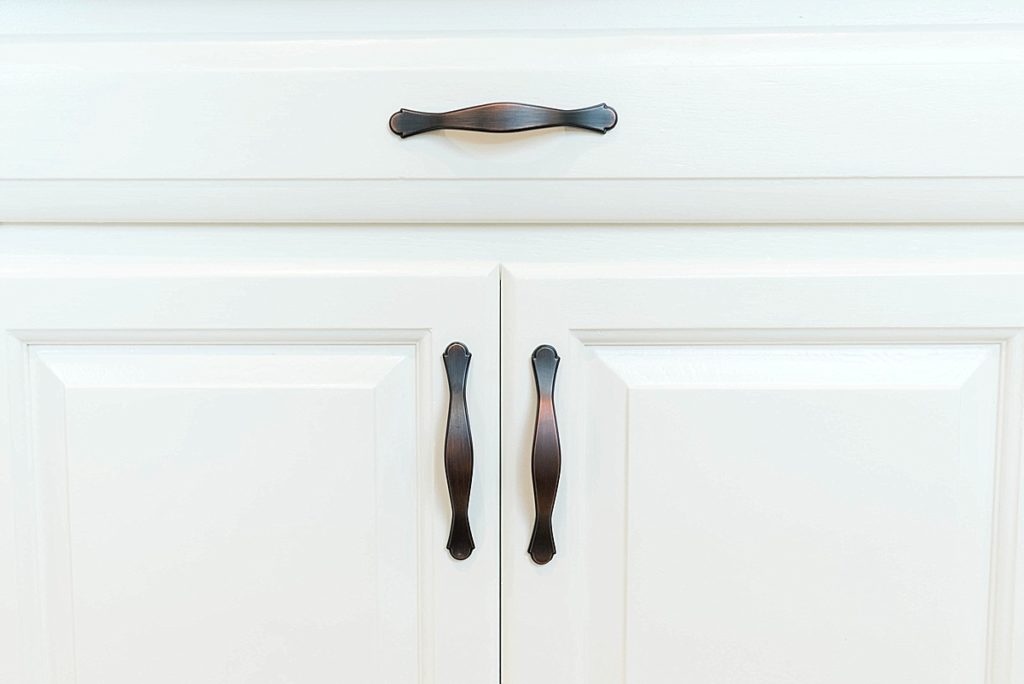
I bought all new cabinet pulls in oil rubbed bronze and just spray painted the existing hinges (after cleaning them really well) with Rust-Oleum spray paint.


I can’t believe the huge difference! The kitchen looks so much bigger now and I definitely don’t want to leave it in a few months 🙁
Supplies
I learned that it was very important to have the right tools for the job. Don’t skimp on your brushes and rollers and the Benjamin Moore paint is totally worth it! Here is a list of the supplies I used:
Benjamin Moore Fresh Start Enamel Underbody Primer
Benjamin Moore Advance Interior Paint – Satin in White Dove
Wooster 4 1/2″ Big Green Foam Rollers


The Process
1. Use Krud Kutter to clean cabinets. Do this in sections as you paint. Once you use the krud kutter you need to prime within 10 days. One bottle cleaned all of my cabinets, doors and frames!
2. Prime using the Fresh Start primer, brush and foam roller. (The cleanup of the primer is what you need the mineral spirits for…it’s not fun stuff). I used the painter’s tripods to paint the cabinet doors and they allowed me to get the edges and worked great!
3. After the primer has dried for 24 hours (or at least over night) use the Scotch-Brite pads to lightly sand the cabinets. Make sure to wipe off any dust with a microfiber cloth after sanding.
4. Use the brush and roller to paint 3 coats of Benjamin Moore Advance paint. Three coats seems like a lot but it is necessary. In between coats make sure cabinets completely dry before moving to the next coat and sand with the Scotch-Brite pads in between coats, cleaning off any dust with a damp microfiber cloth.
TIP: Make each coat a thin layer and watch for any drips on the edges and smooth them out before they dry.
5. Put on new hardware and hang!
Before/After
You know we have to have the epic side by side before and afters…so here they are!
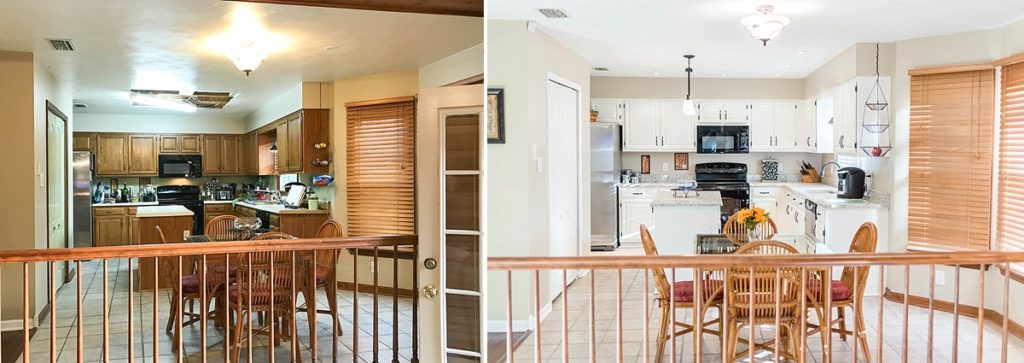
Paint Color for the walls is Valspar Lamb’s Ear
I also cleaned the grout because with all of the fresh new paint, the floor was looking pretty cruddy! For that I used Zep Grout Cleaner and Whitener. It was a lot of work but it made a huge difference! You can also see the difference in the before/after pictures above.

Check out our listing here and share with anyone who may be interested: 709 Cordgrass Ct.


Be the first to comment!