After we got our master bathroom remodel under our belt, the next project was the guest bathroom! This time, we didn’t have to do as much plumbing work (woohoo!) and we learned a lot from the first go around, so this one definitely went more smoothly. We couldn’t wait to get rid of the linoleum floors and give this bathroom a fresh new look. I wanted to go with a beach theme since I love coastal decor.
Here are some of the not-so-great before pictures.
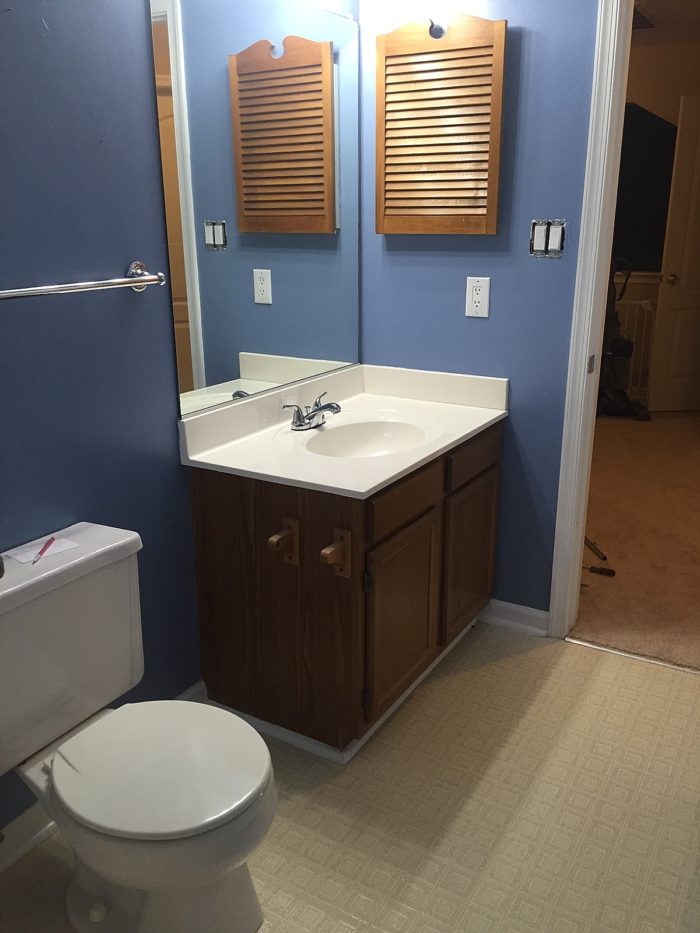
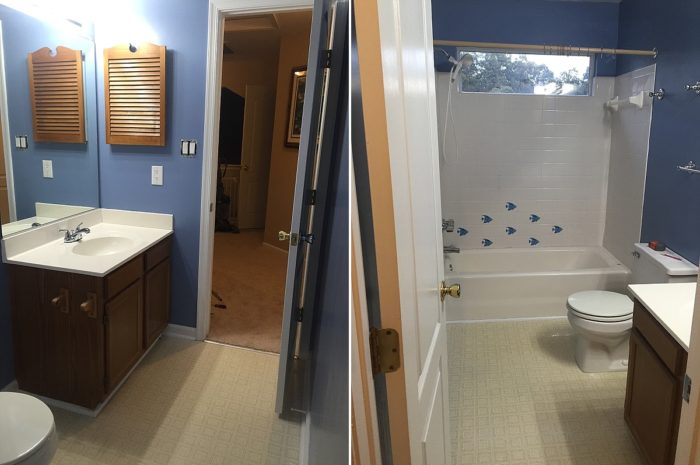
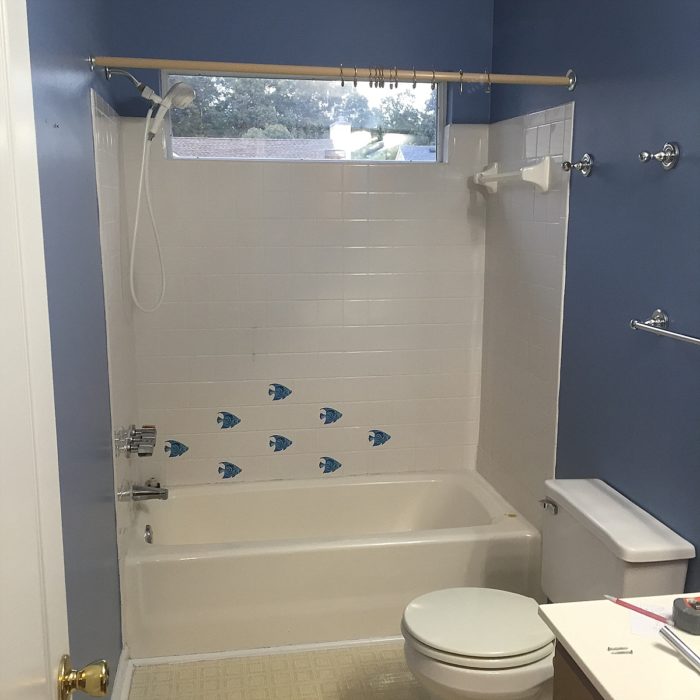
And the demo starts!
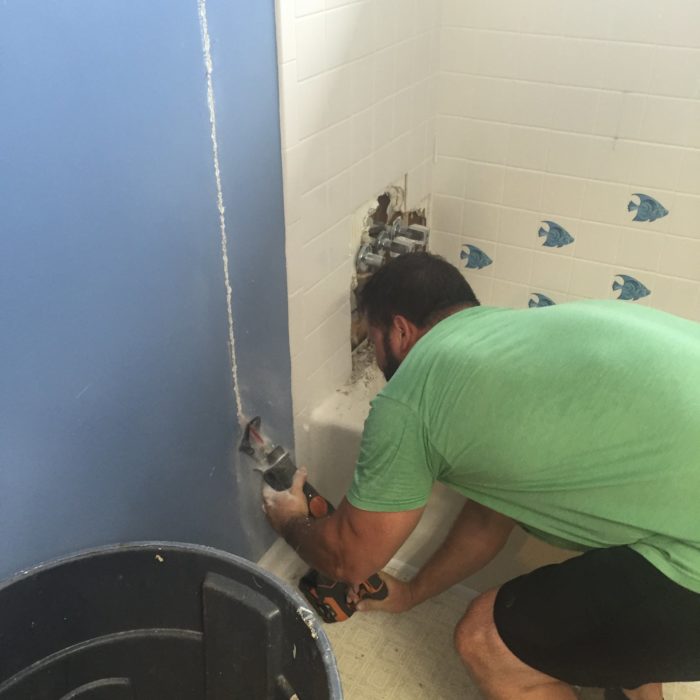
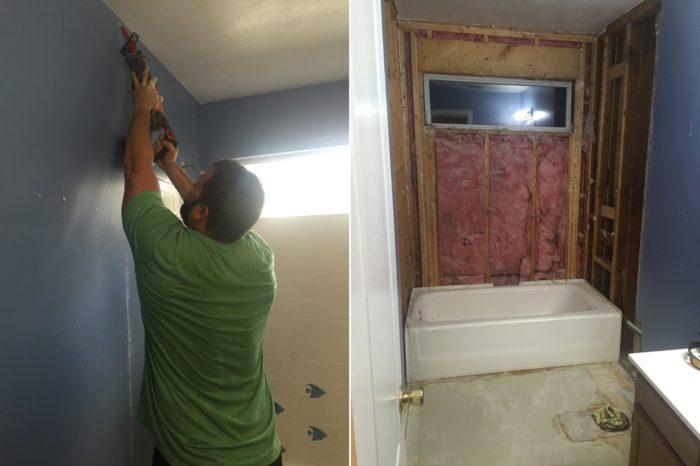
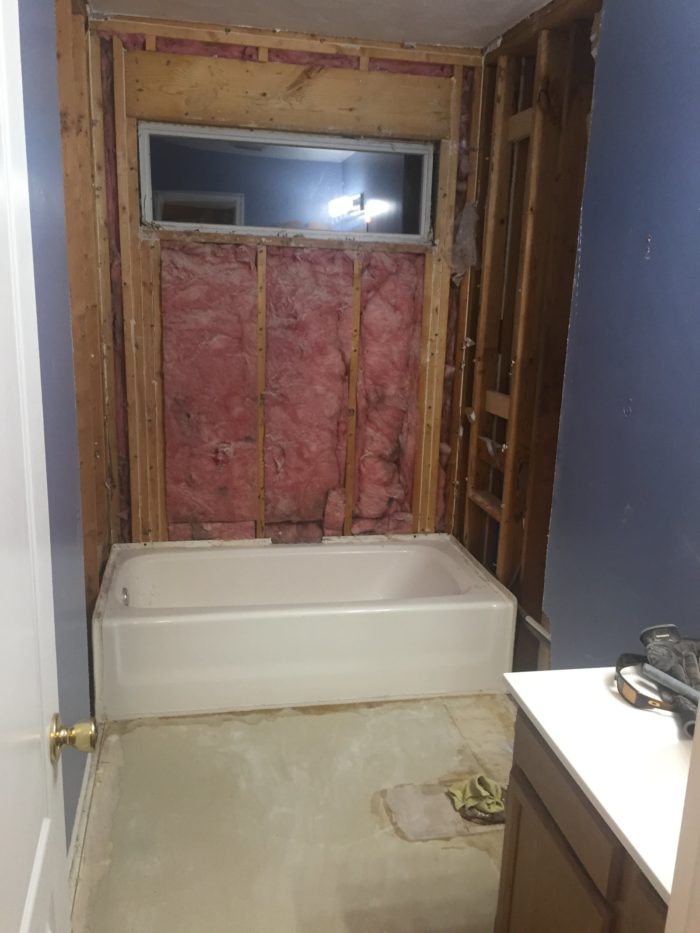
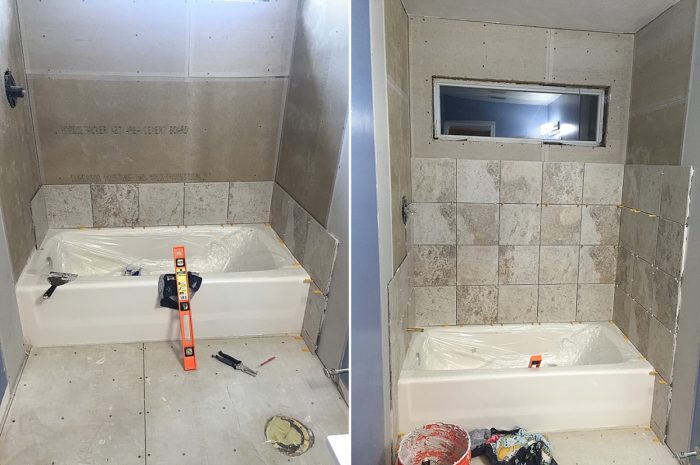
Once all of the old tile and linoleum were out, we started with the backer board. It looks better already!
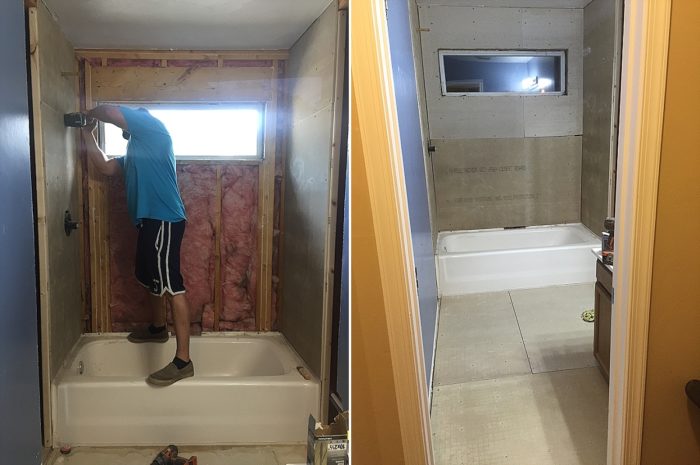
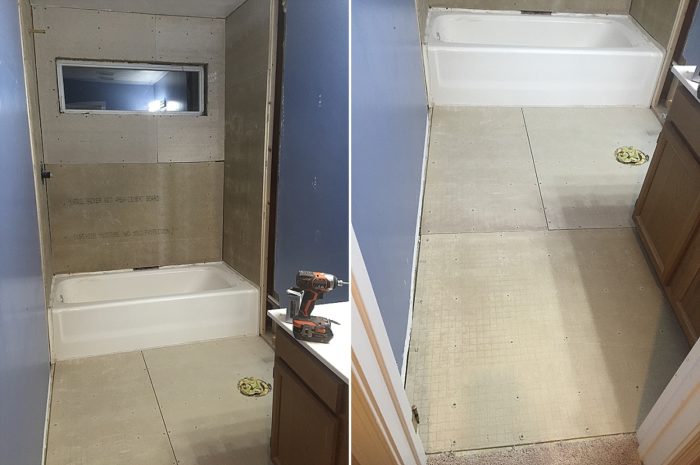
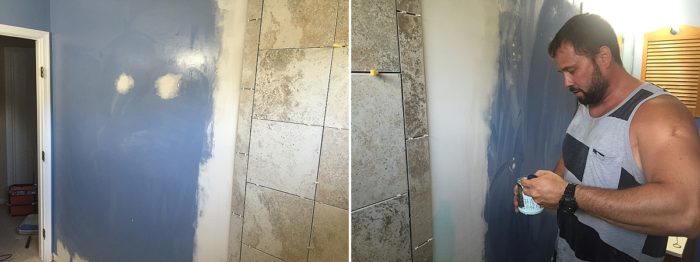
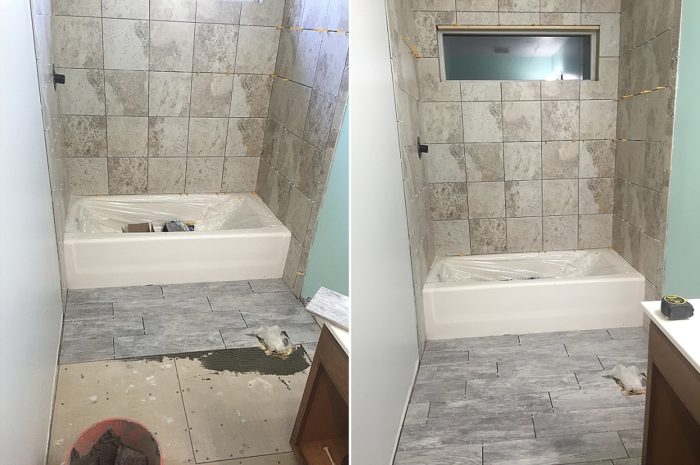
Finally, time to start the floor! This is my favorite color wood-look tile flooring ever!
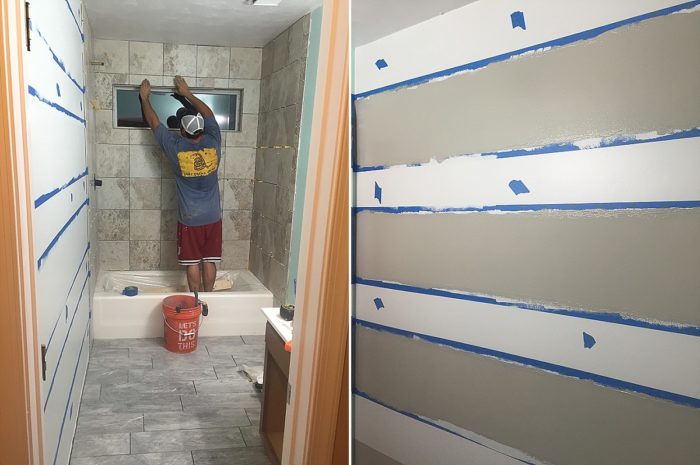
Then, my first time painting stripes!! It actually wasn’t as hard as I thought it would be 🙂
Last but not least, time to grout!
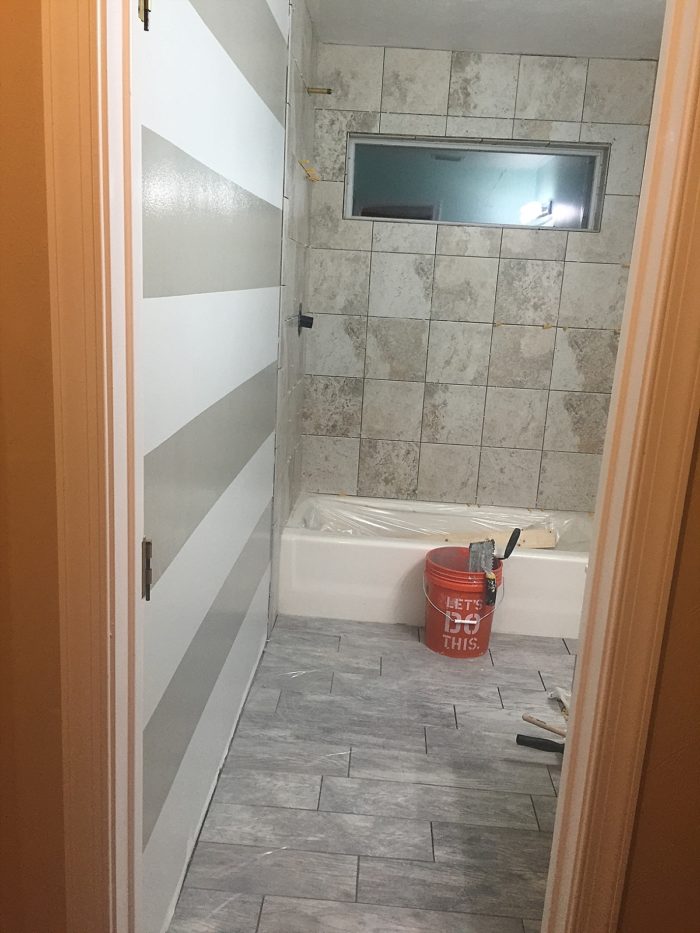
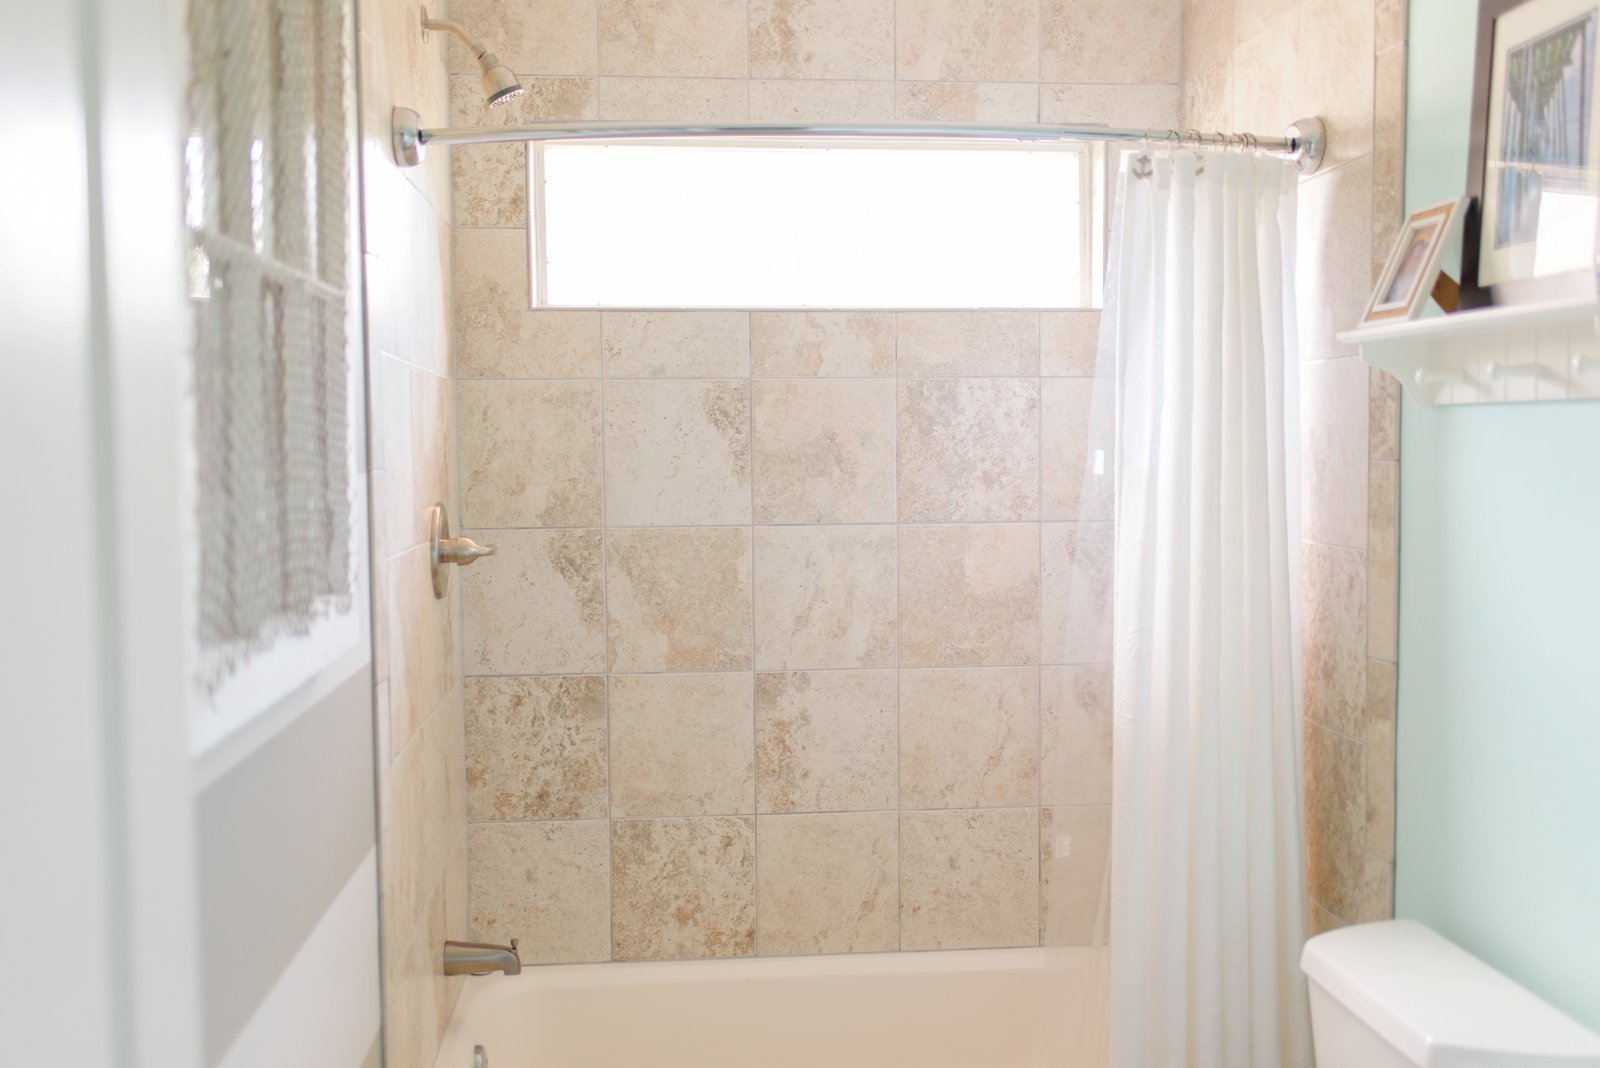
Here is the (almost) finished product!!
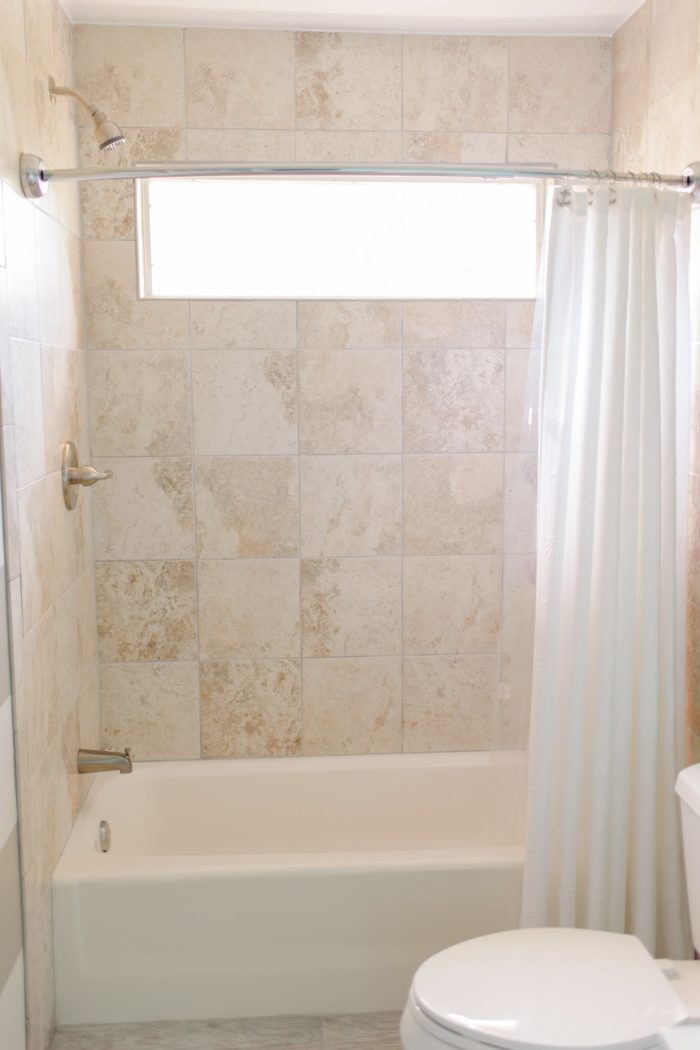
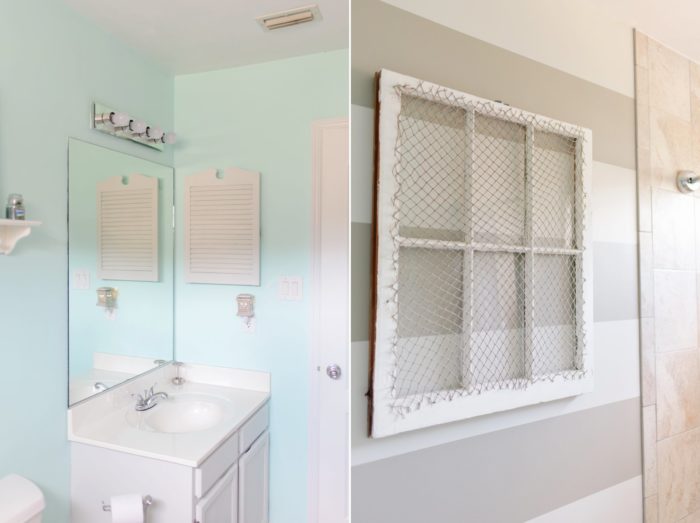
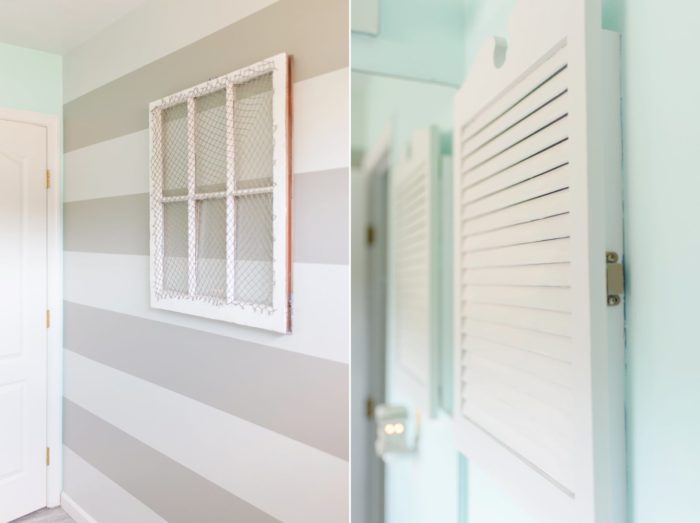
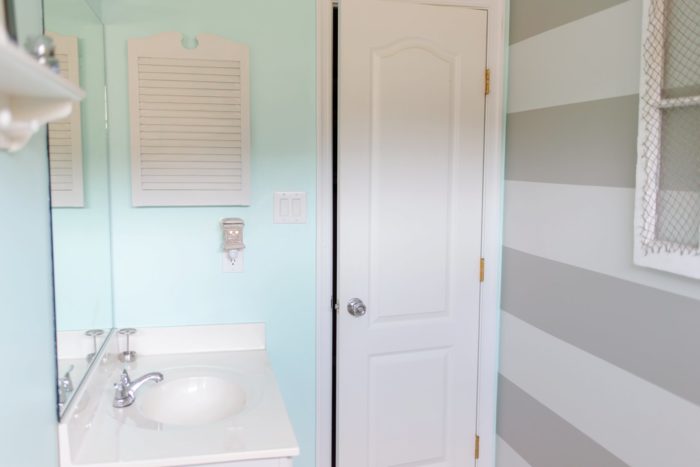
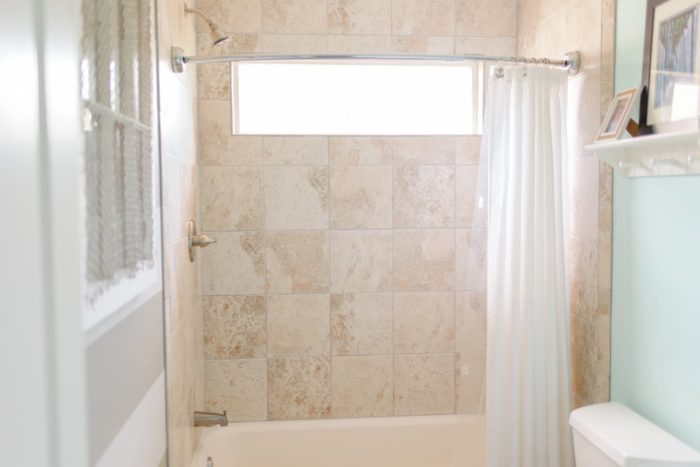
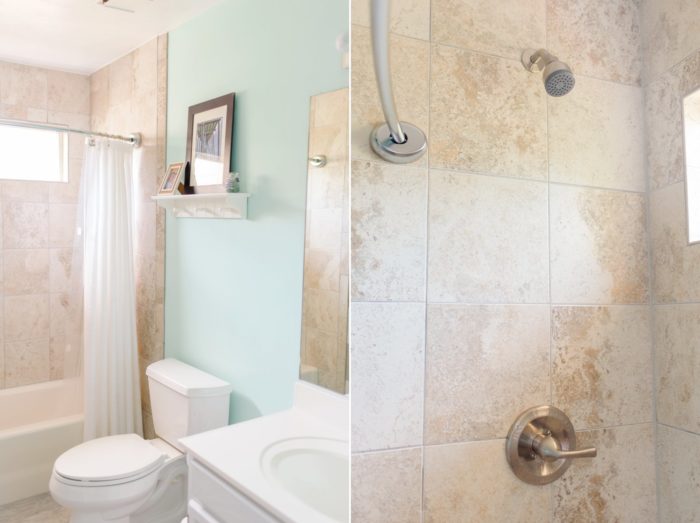
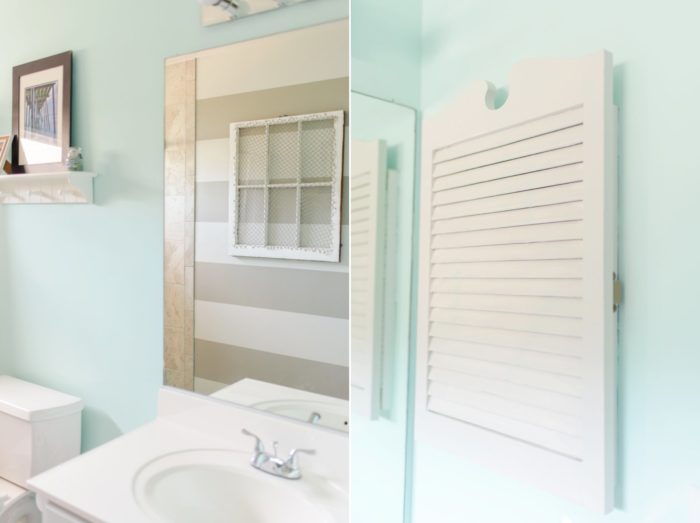
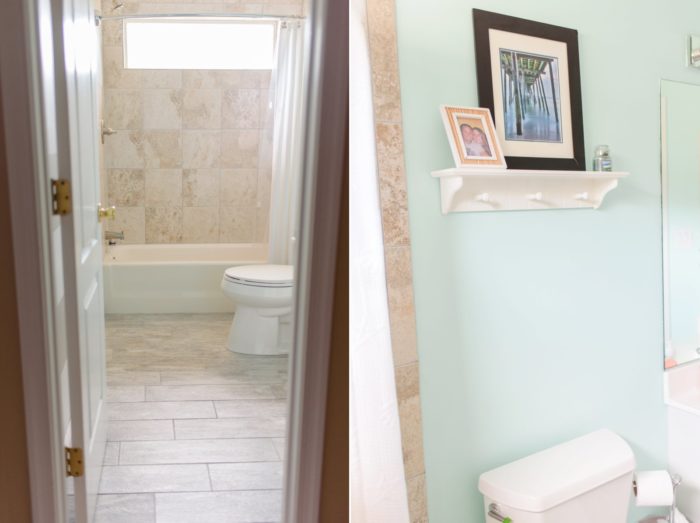
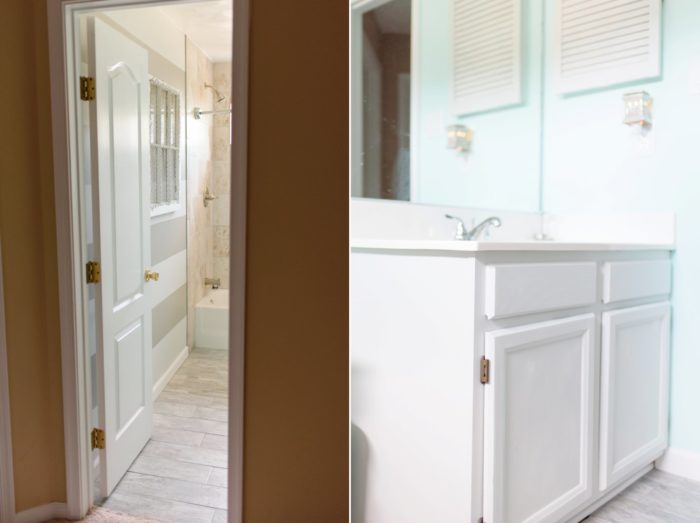
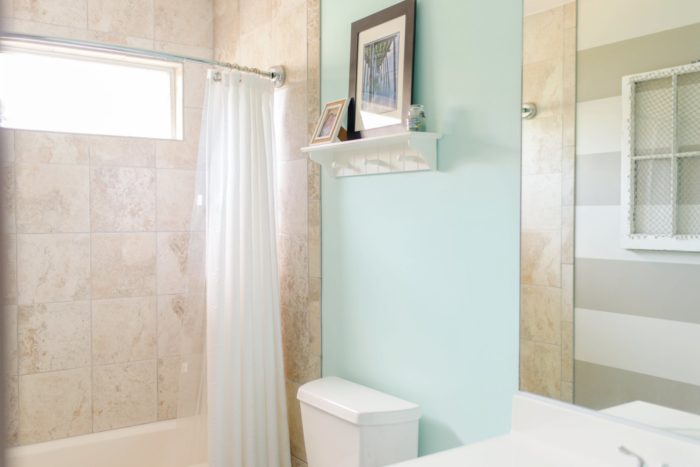
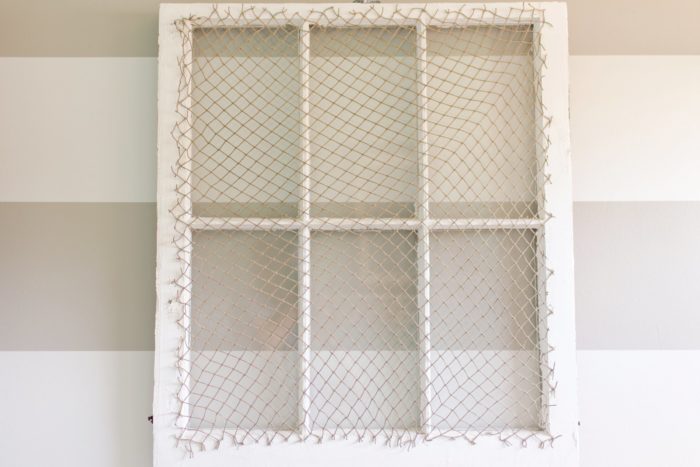
I still need to get some cute little starfish and beach themed things to put in the net of the window!
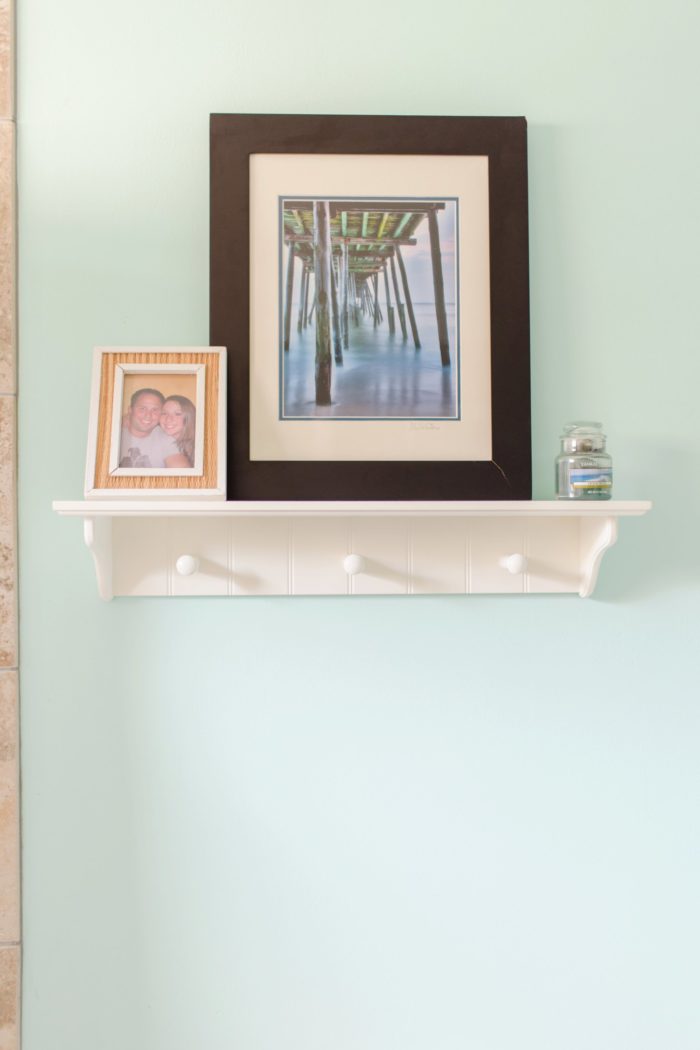
Now for the side by side before and after pictures! There is nothing like the sense of accomplishment you get when you see the side by side comparison after all of that hard work!!
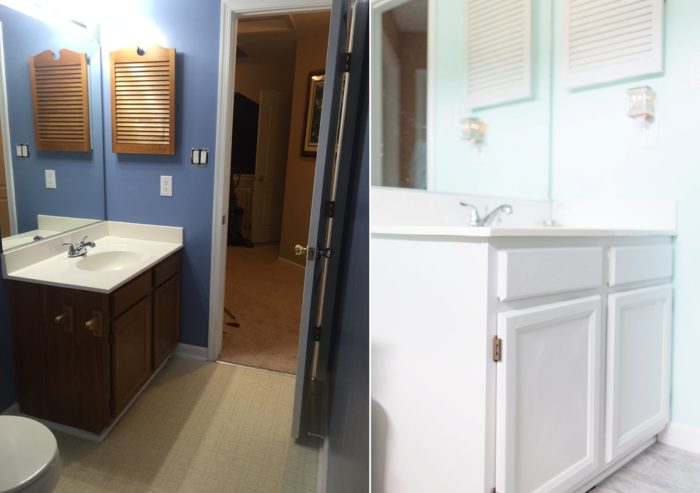
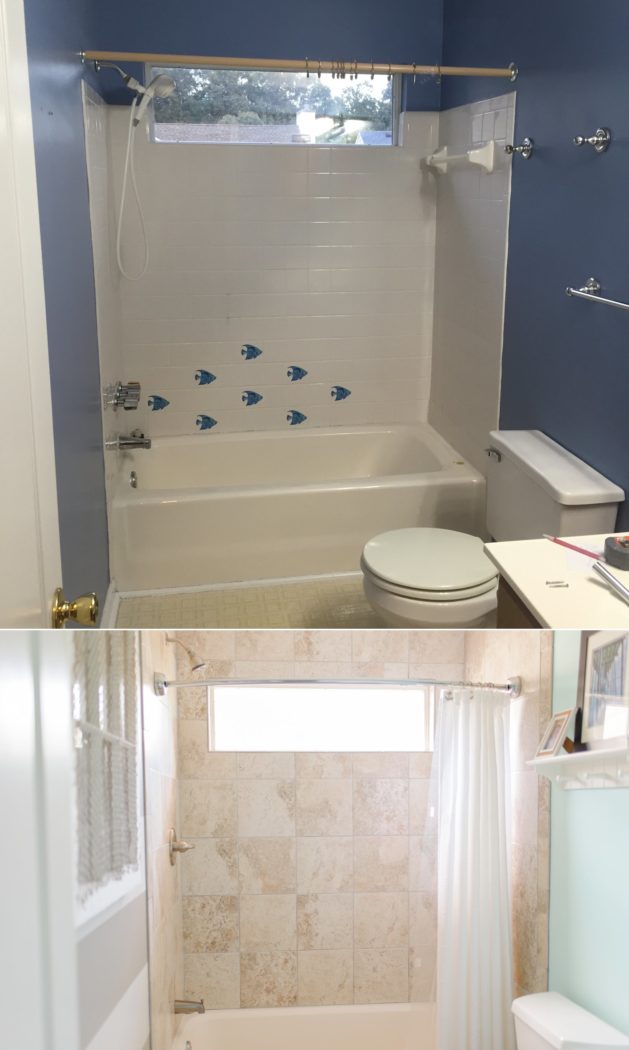
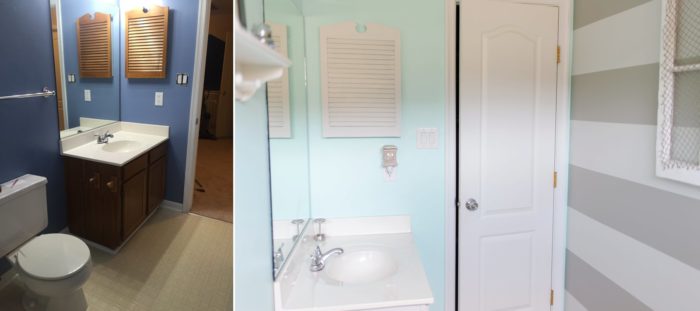
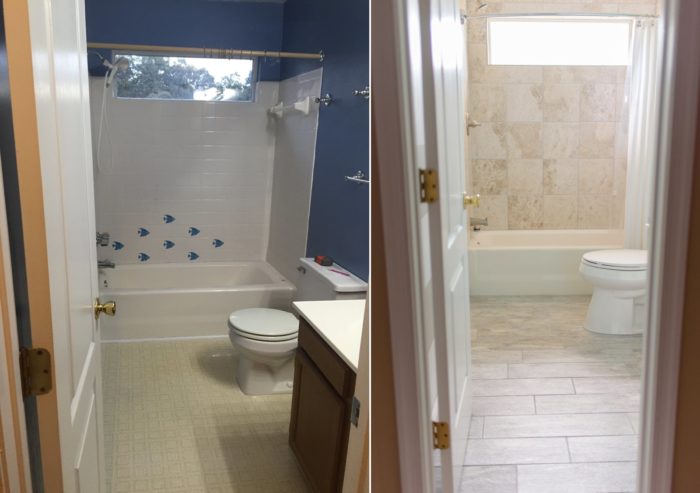
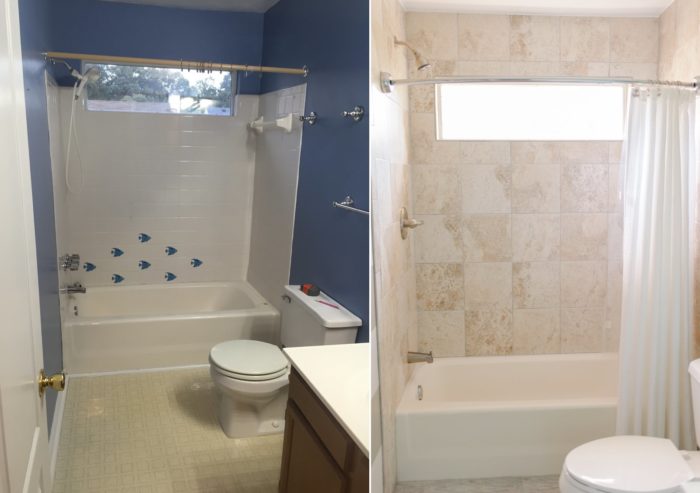
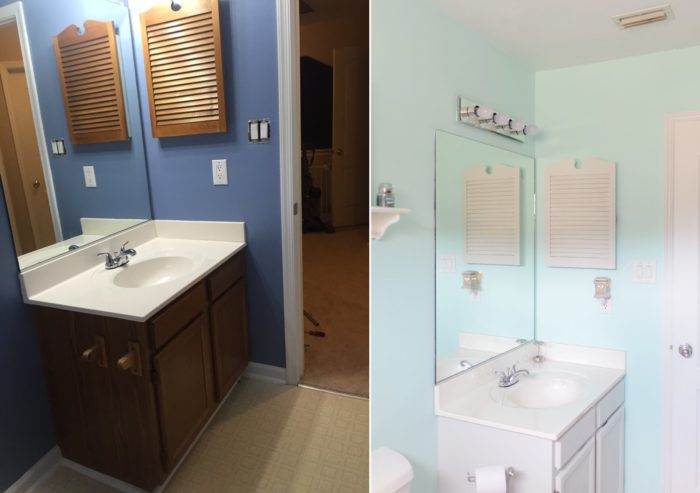
I would still like to update the light fixture and frame the mirror, but at least the rest of the bathroom looks so much better! Again, I owe my husband so much for all of his excellent hard work! Thanks, babe! 🙂
Paint Colors │ Stripes – Behr Seagull Gray & Still Gray, Teal Wall – Behr Summer House
Shower Tile │ Home Depot – Montagna Lugano
Floor Tile │ Home Depot – Redwood Natural
Be the first to comment!